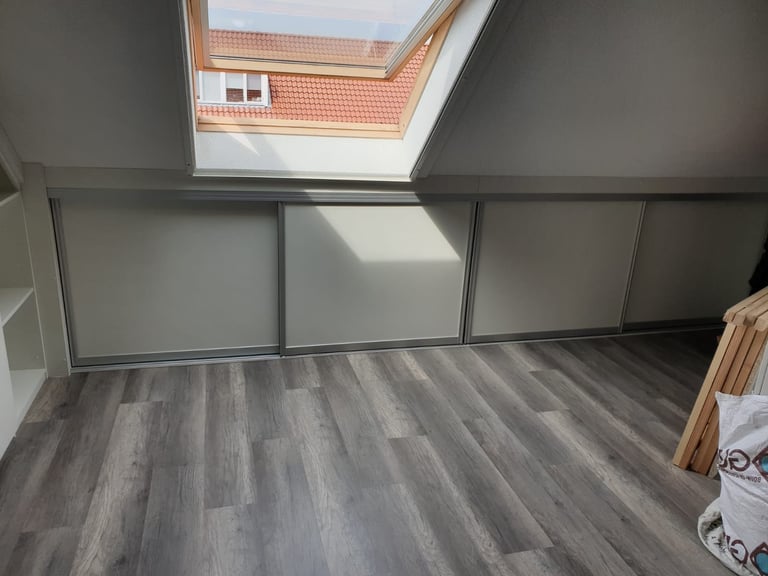
Building a storage space under the roof with sliding doors
Learn how to build sliding doors for attic storage under a slant roof with our essential tips and step-by-step instructions
HOMEDIY
Dad from NL
2/12/20257 min read
Before you get started
When embarking on the journey of transforming your attic into a functional storage area, the initial step involves a thorough evaluation of the available space. This assessment is critical to ensure that your storage solution is both efficient and accessible. Begin by measuring the dimensions of your attic. Accurate measurements will give you a clear picture of how much usable space you have, allowing for informed decisions on design and layout.
Next, pay close attention to the slope of the roof, as this will significantly impact the design of your storage area. A slanted roof can create design challenges but also opportunities for creative storage solutions. For instance, low areas may not be suitable for tall shelving units, while higher sections could accommodate them. Consider how the roof’s angle might affect what can be stored—boxes, bins, or possibly even built-in cabinets designed to fit specific dimensions.
In addition to measurements and slopes, assessing accessibility is paramount. Determine how you will access the attic and the storage area once it is established. Is there a sturdy ladder or foldable stairs? If the current access point is inconvenient, planning for a new access passage might be necessary. This will ensure that retrieving seasonal items or rarely used goods is hassle-free.
By meticulously evaluating the attic space, including measurements, roof slope, and accessibility, you prepare yourself for a successful storage solution that best meets your needs and enhances the overall utility of your attic.
Types of Rollers for Sliding Doors
When it comes to optimizing your attic storage area, selecting the appropriate sliding door system is crucial. There are several types of sliding door systems available, each with unique features that cater to various needs and preferences. Among the most common roller door options are floor rollers (R-Type) and hanging rollers (H-Type). Choosing the right rollers for your design will also need consideration of the weight of the doors
When considering materials for sliding doors, options include wood, metal, and glass. Wood provides a warm, traditional feel, while metal offers durability and a modern edge. Glass doors can create an airy atmosphere but may lack the privacy of solid materials. For your attic storage space, plywood doors will be the most cost effective.
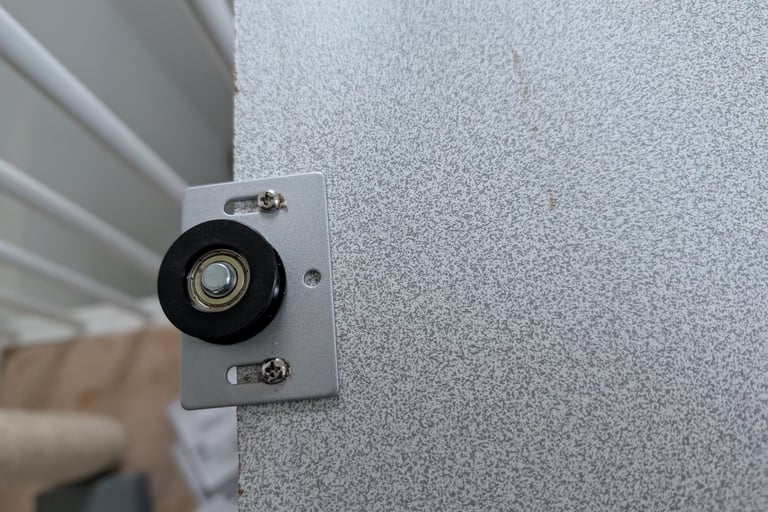
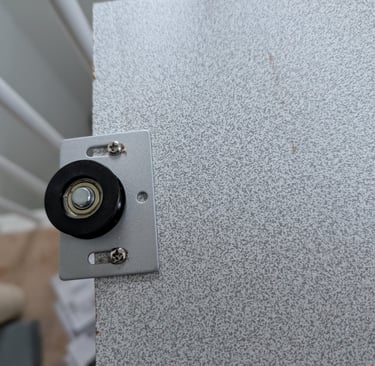
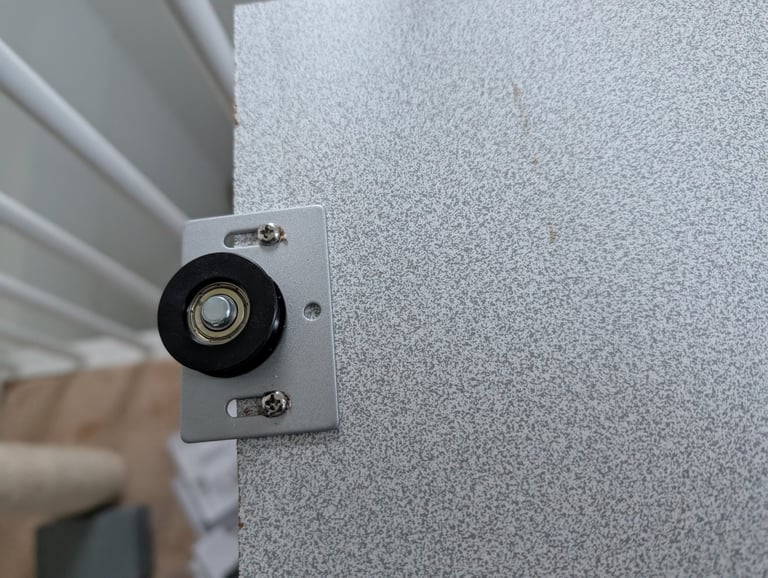
The floor track rollers (R-Type) are designed to move along tracks on the floor. The entire weight of the door is supported on the floor by these rollers. They are supported by sliders / guides along rails at the top of the door.
The Hanging rollers (H-Type), as the name suggests are designed to be suspended from the top rail. The entire weight is borne by the beam at the top, and the doors are kept in place by guides on the floor.
Specially for Attic systems, R -type rollers are preferred, so that you do not have to reinforce the roof structure and the support beams to carry all the weight of the doors. Typical roller systems come in designs for doors upto 20kg, upto 40kg or upto 60kg each.
Types of Rollers for Sliding Doors
Step 1. Planning and Measuring:
Accurate Measurements: This is crucial! Measure the width of the opening at both the top and bottom (in case the walls aren't perfectly parallel). Also, measure the height from the floor to the lowest point of the sloped ceiling where the doors will reach. Note the angle of the slope.
Door Overlap: Decide how much you want the doors to overlap when closed. This will affect your measurements for the rails and the doors themselves. A typical overlap is a few centimeters.
Number of Doors: Consider how many doors you want. Fewer doors mean larger doors, which can be heavier and harder to manage. More doors mean smaller doors, but more tracks and hardware.
Sketch it Out: A simple sketch can be incredibly helpful. Draw the space, the slope, and the planned door configuration. Note all your measurements on the sketch.
Step 2. Choosing Materials:
Door Material: MDF is a popular choice because it's smooth, stable, and takes paint well. Plywood is another option, but it might require more finishing. Consider the weight of the doors, especially for larger openings.
Rails and Hardware: Choose a high-quality sliding door track system. Make sure it's rated for the weight of your doors. Consider soft-close mechanisms for a more luxurious feel.
Battens: Use straight, thin strips of wood for marking the rail positions. Pine or similar softwood works well.
Fasteners: Have plenty of screws, including wood screws for attaching the rails and clips, and screws suitable for the chosen door material for attaching the wheels and guides.
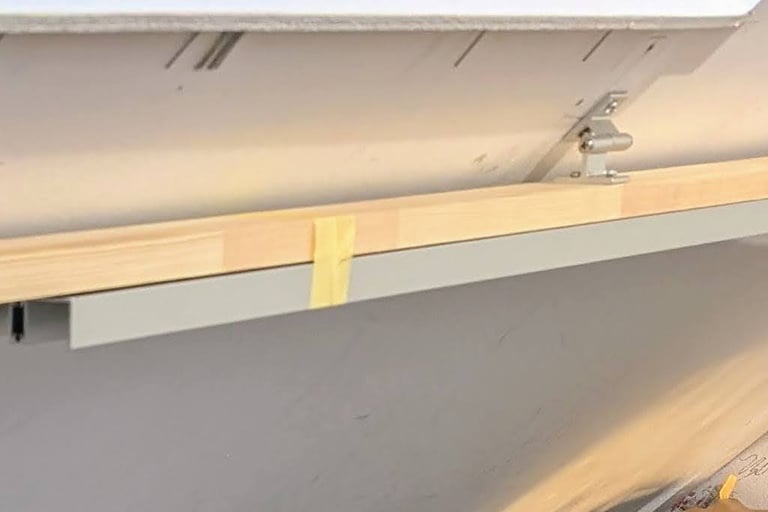
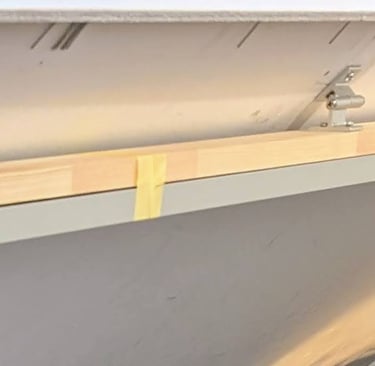
Step 3. Preparing the Rails:
Cutting: Use a circular saw or jigsaw for straight cuts. A miter saw is great for precise angles if needed. Always wear safety glasses!
Battens: Attach the battens temporarily with small nails or screws so they can be easily removed later.
Tip: Applying painters tape to the area where the cut will be prevent chipping on the board from the saw
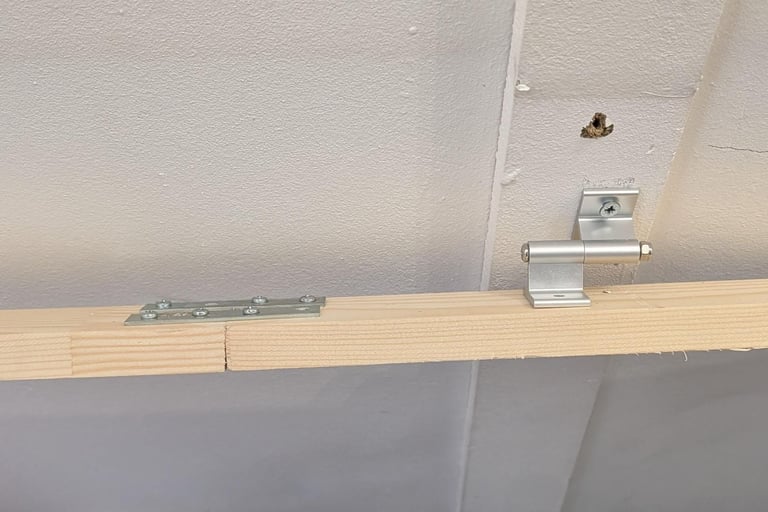
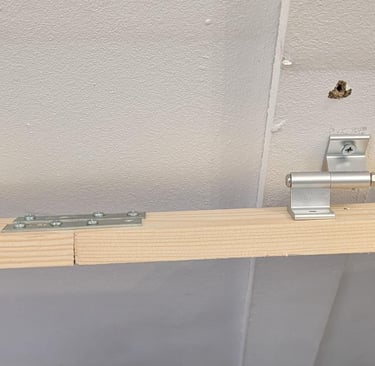
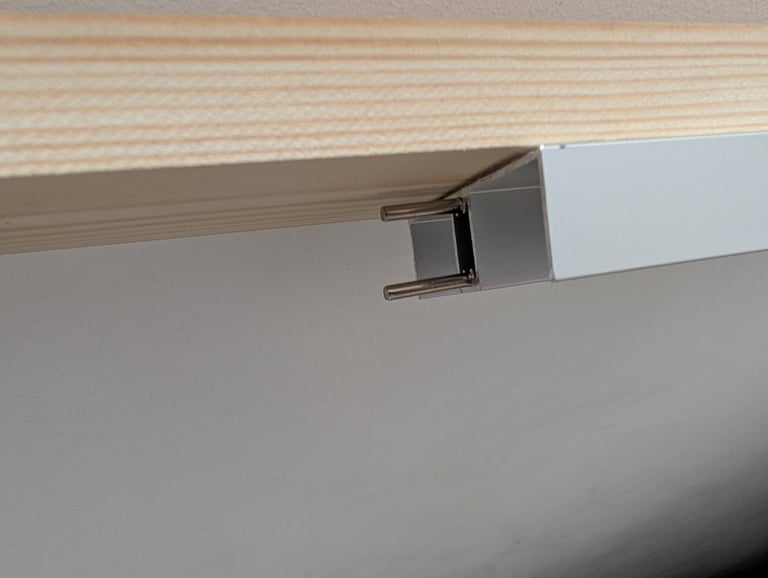
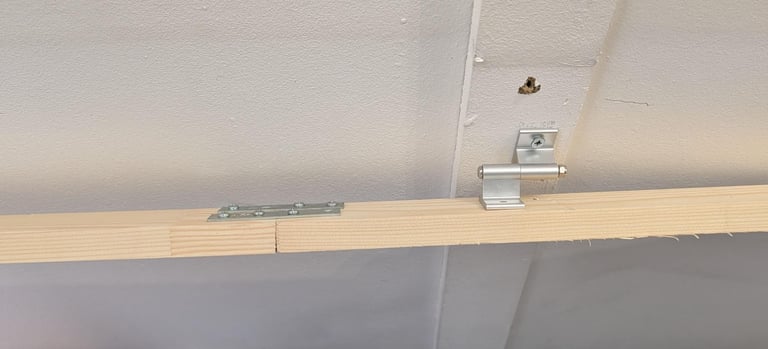
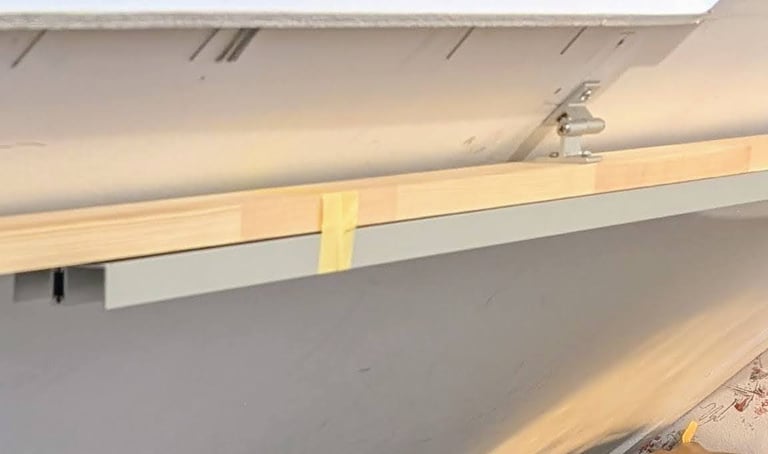
Step 4. Attaching Ceiling Clips (Hood Clips):
Even Spacing: Measure carefully to ensure the clips are evenly spaced. This will help the doors slide smoothly. Spacing them out 60cm apart is suggested.
Securing: Use appropriate screws for the ceiling material. If you're attaching to drywall, use drywall anchors.
Tip: you can use magnets to identify screws in drywall, as these will have beams hidden behind them
Step 5. Attaching Rails to Clips:
Alignment: Double-check the alignment of the rails before fully tightening the screws. Use a long straight edge or a level (waterpas) to ensure they're perfectly straight.
Tip: use the battens to check alignment over longer distances.
Step 6. Securing the Rails:
Pre-drilling: Pre-drilling is essential to prevent the wood from splitting, especially with MDF.
Screws: Use enough screws to securely attach the rails.
Tip: Use a couple of extra screws as this is where all the weight of the doors will lay on.
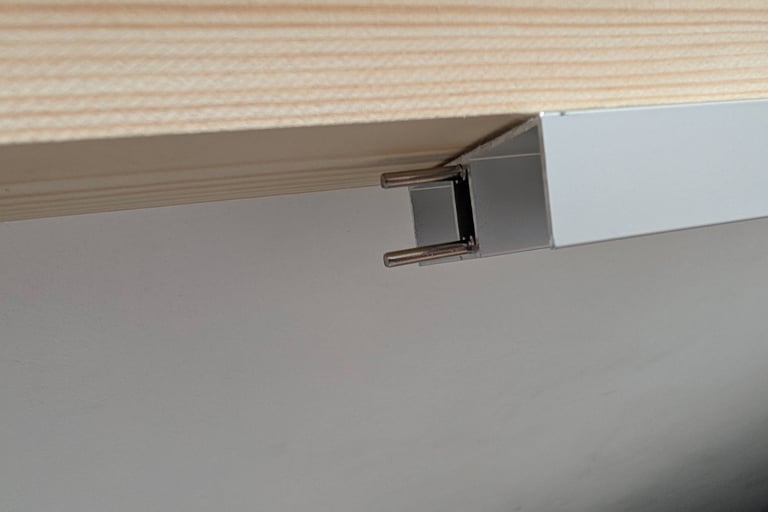
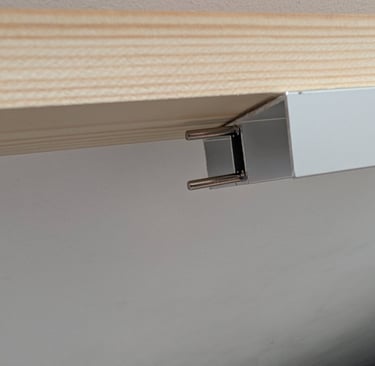
Step 7. Hanging the Rail System:
Teamwork: This step is much easier with two people.
Leveling: Use a long level to ensure the rail system is perfectly level. This is critical for smooth door operation.
Tip: 4 hands are always better than 2 in this step
Step 8. Making the Doors:
Accurate Cutting: If you're cutting the doors yourself, measure twice and cut once! A table saw or circular saw with a guide is recommended for straight cuts.
Finishing: Sand the doors smooth before priming and painting. Multiple thin coats of paint are better than one thick coat.
Tip: If your floor is uneven or if there is a bow in the roof slant, you may end up with different height requrirements for each door. So check with each door and mark them in sequence
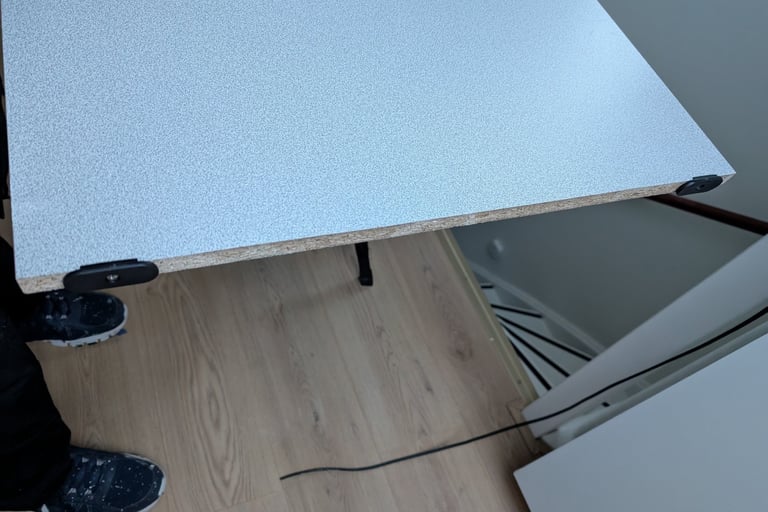
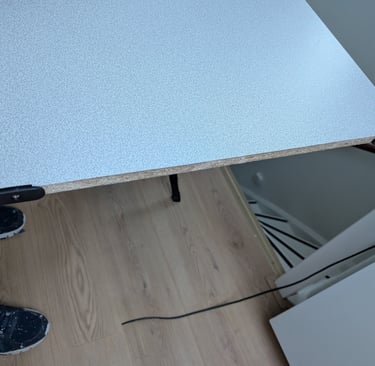
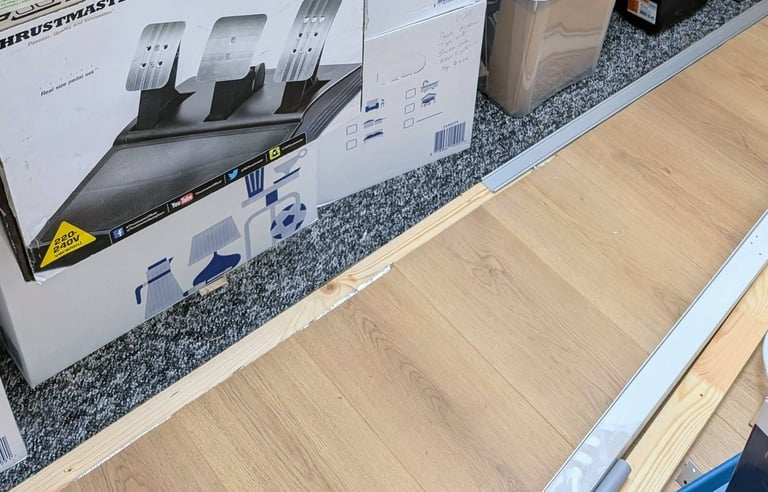
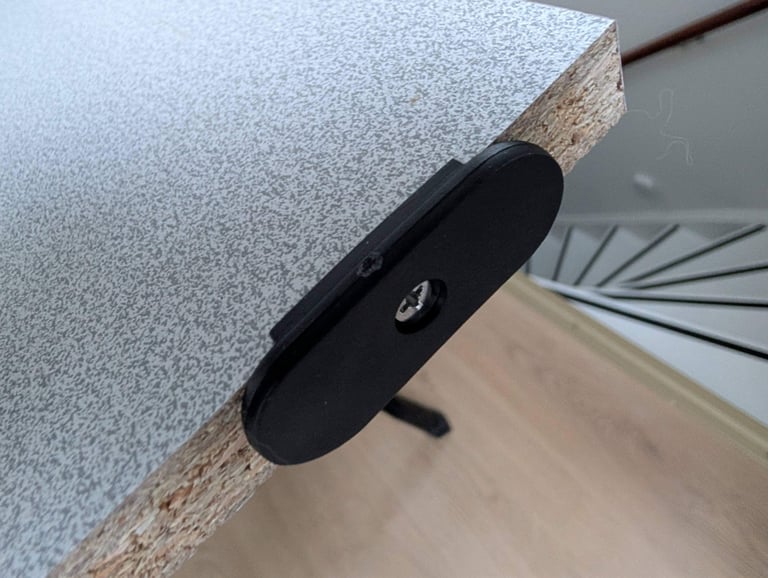
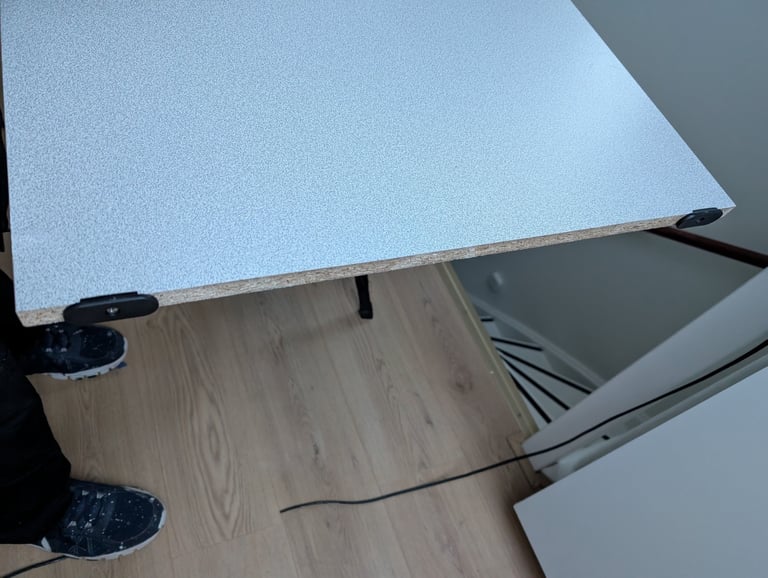
Step 9. Bottom Track and Wheels:
Wheel Placement: Follow the manufacturer's instructions for attaching the wheels and guides.
Bottom Track: The double-sided tape is for temporary placement. Once you're happy with the position, you might want to consider using screws for a more permanent installation, especially for heavier doors. Be careful not to damage any flooring underneath.
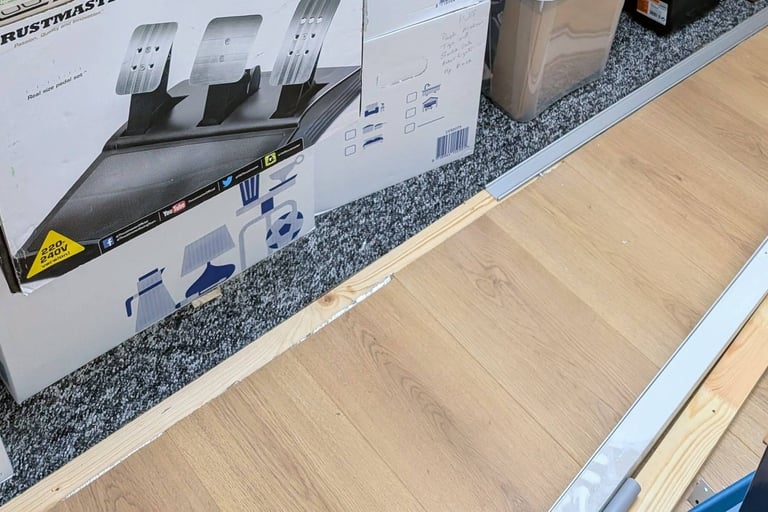
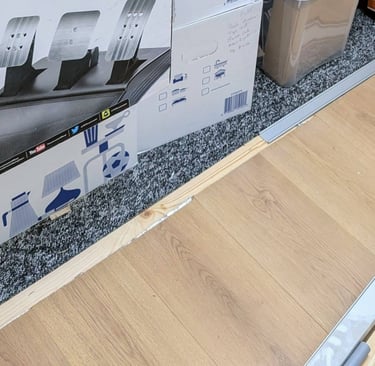
Tip: if there is carpet on the floor, then you will need to secure the bottom rail with a thin batten and then attach the rail to the batten
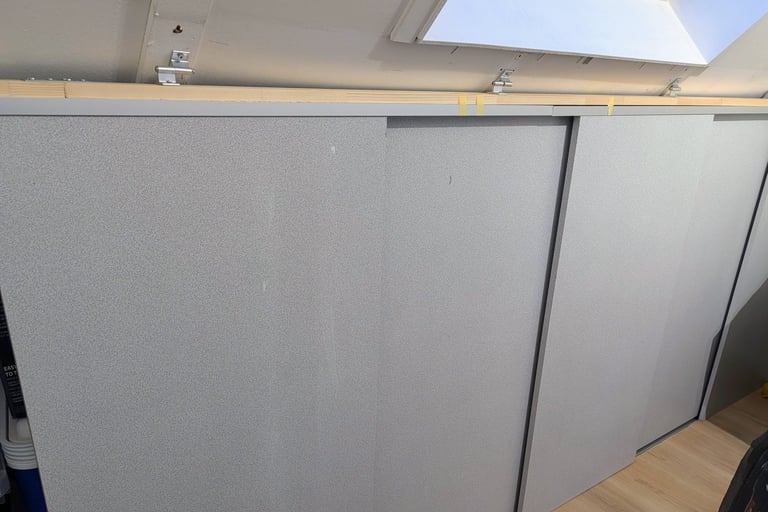
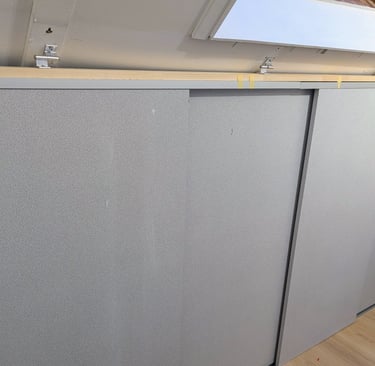
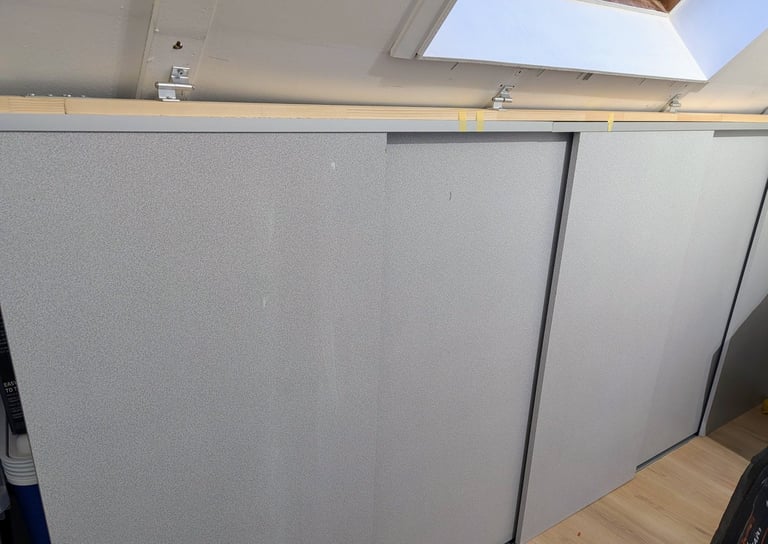
Step 10. Hanging the Doors:
Careful Handling: Be careful not to damage the doors when hanging them.
Smooth Sliding: Test the doors to make sure they slide smoothly.
Tip: Slide the top part in first and then set the wheels on the bottom rails
Step 12. Finishing Touches (Optional):
Skirting Board: A skirting board can hide the gap between the top of the doors and the sloped ceiling, giving a more finished look.
Adding Handles: Consider the ergonomics and how you'll be using the doors when deciding on handle placement.
Step 11. Adjusting the Doors:
Alignment: Adjust the wheel positions to ensure the doors are perfectly aligned and slide smoothly.
Fine-tuning: You might need to make small adjustments after a few days as the doors settle.
Tip: Most system come with 3 screws for the rollers. Put the final screw only after you have placed all doors.
By following these expanded steps and tips, you'll be well on your way to creating beautiful and functional sliding doors for your sloped ceiling! Remember to always prioritize safety and wear appropriate protective gear.
Do's and Dont's
First and foremost, always prioritize safety measures. Ensure that you have the proper protective equipment, such as gloves and goggles, while working in an area that may be confined or dusty.
Consider the structural integrity of your attic. Before beginning the construction, evaluate the load-bearing capacity of the slanted roof and ensure that it can adequately support the weight of the storage materials.
Aim for a layout that maximizes the available space while allowing easy access.
Opt for sliding doors as they save space and offer convenience.
When measuring, account for the slope of the roof and the available headroom to avoid any awkwardly unusable spaces.
Try to sketch a detailed blueprint of your intended storage area; this will help maintain clear focus throughout the construction process.
However, there are several common pitfalls to avoid.
Do not underestimate the importance of using high-quality materials.
Inferior wood or hardware can compromise the longevity and safety of your storage.
Be wary of overpacking your storage area; this not only makes accessing items cumbersome but could also put excessive stress on the attic structure.
Additionally, during the finishing touches, do not neglect ventilation. Proper airflow is vital to prevent moisture buildup, which can lead to mold or damage to stored items.
Finally, while troubleshooting common issues, remember that patience is key. If complications arise, reassess your plans rather than rushing to implement quick fixes.
By following these dos and don'ts, you can successfully build a practical and aesthetically pleasing storage area under your attic slant roof.
Materials & Tools
Tools Needed
Set Square / Winkelhaak
Level / Waterpas
Measuring tape / Rolmaat
Pencil / Potloed
Safety Knife / Afbreekmes
Cordless Drill / Accuboormachine
Jigsaw / Decouperzaag
Circular Saw / Cirkelzaag
with Dutch names
Materials Needed
Roller System / Geleidersysteem
Ceiling Clips / Schuine kaapclip
Door Handles / Deur handgreep
Batten / Vurenhout
MDF Doors / MDF gegrond
Universal screws / Universele schroeven
Double sided tape / Dubbelzijdig tape
Paint / Lak
Paint brush / Lakroller
Primer / Grondverf
Gallery
All Images
dadfromNL
Subscribe to our newsletter
Contact:
dadfromnl@gmail.com
Copyright 2025 © DadfromNL
All rights reserved.